This is a W&B in a rather poor state, all rusty (black and red rust), with an etched engraving - shame, but almost gone, scales were a let down also so decided to have them replaced with MOP scales (used old ones to keep the shape). A had an attempt a while ago but ruined it so I decided to play very low and invested in inferior grade MOPs and aluminium lining (MOP is quite heavy)

I tested WD40 to clean up the engraving but it didn't get anywhere

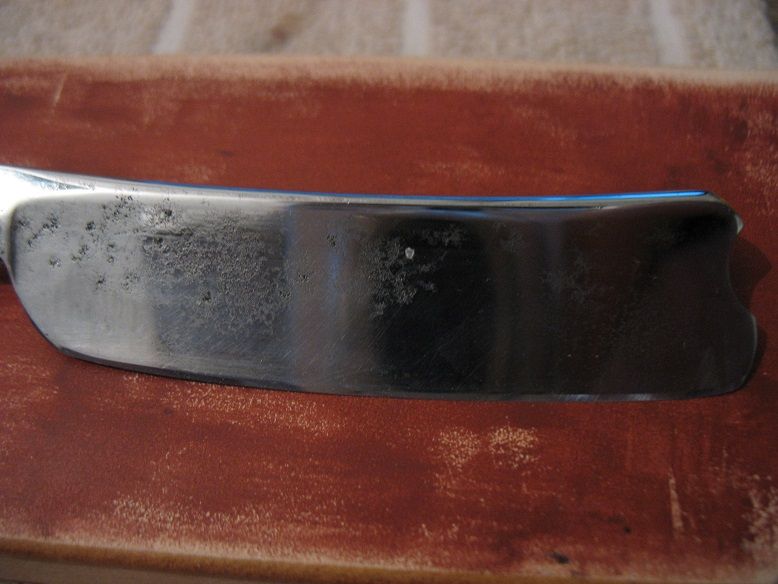
The blade after several attempts of using WD40 but no results, so decided to stop being afraid to not destroy it.
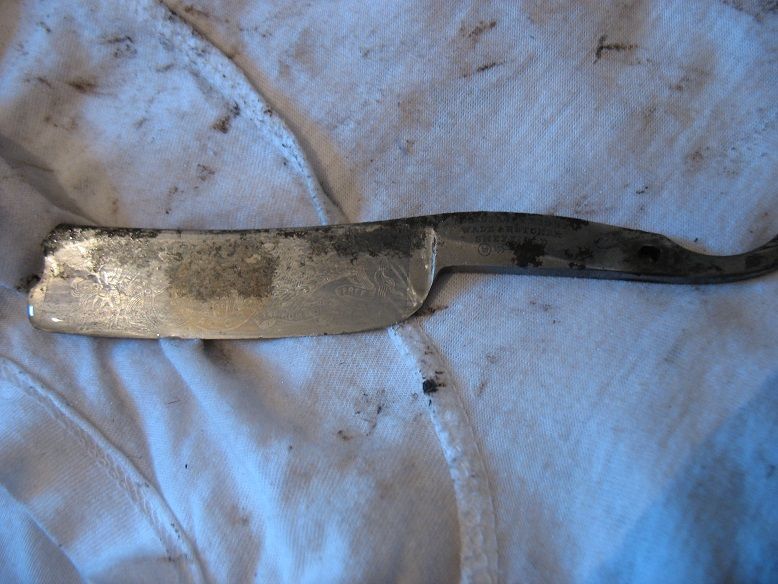
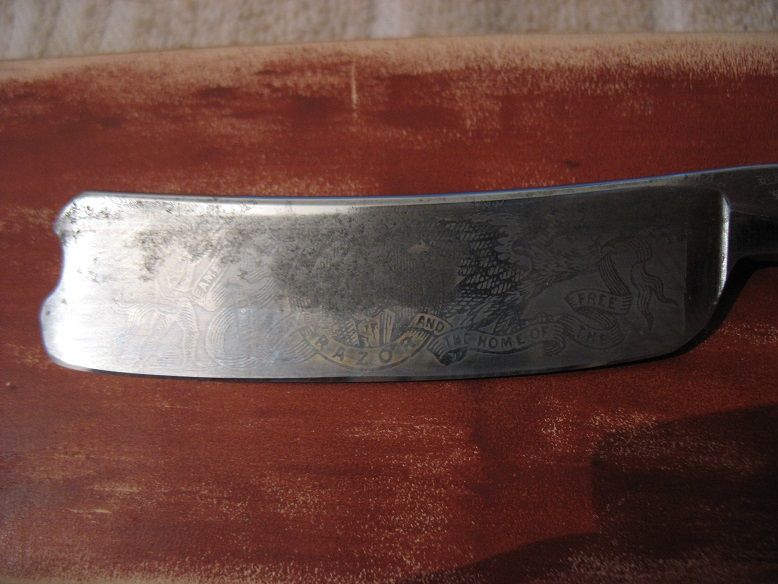
I won't show the other pictures of the blade from various perspectives because it's depressing. After almost 6 hrs of electrolysis I got this


It can be read now "America the land of the brave and the home of the free" and in the centre "Washington" on top and "razor" at the bottom; it can be distinguished an yellowish halo suggesting a previous gilding, I think.
After many hours of cleaning, polishing (from 180 to 2500 grit) I got this (I left the pitting because I didn't want to alter the blade's geometry)


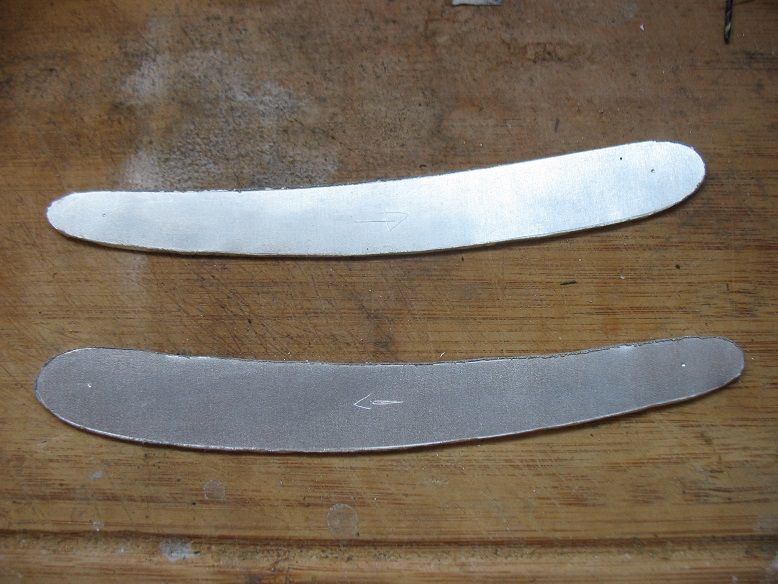
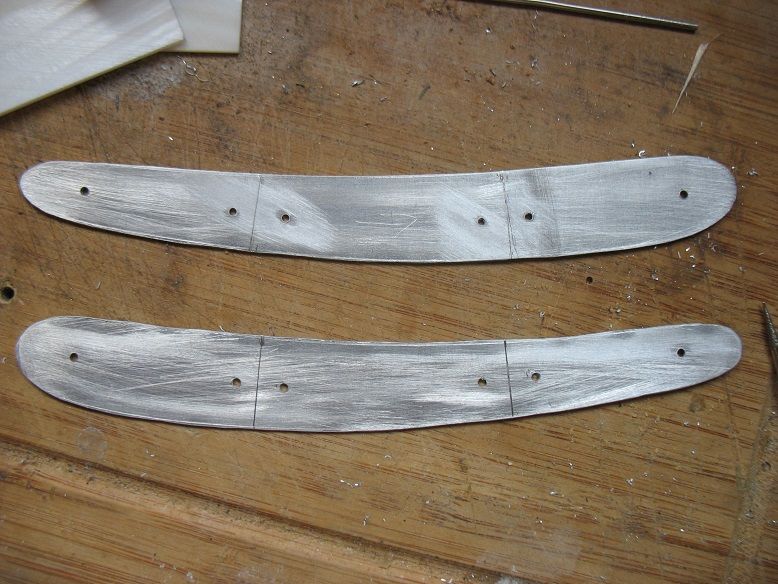
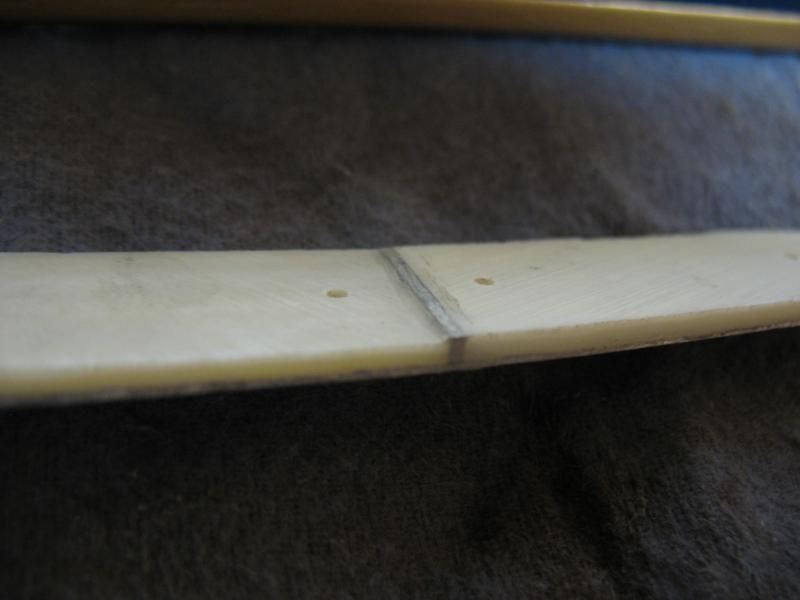
I cut and trimmed the lining (aluminium 0.7 mm), marked the places to position the MOPs adn drilled the holes for stabilisation pins to prevent cracks
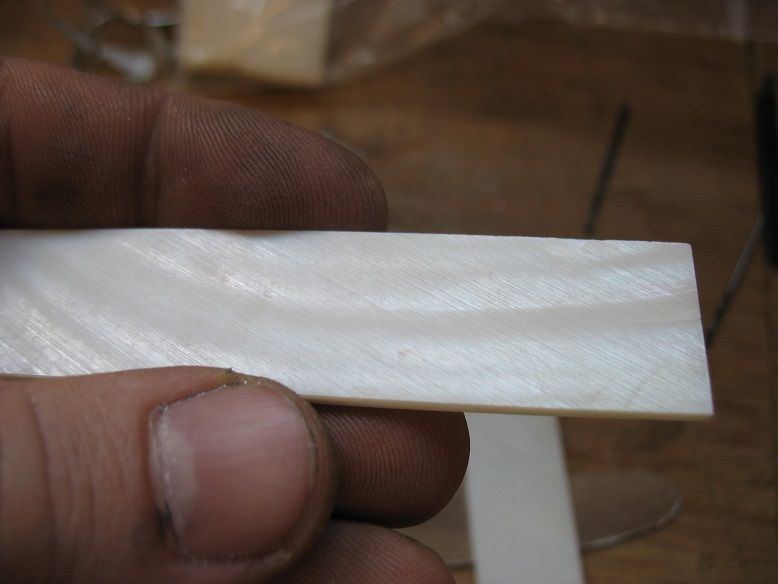
and got the MOP ready (inferior quality - deep scratches, awfully cut blanks); I spent a great deal of time trying to get the surface as even as possible

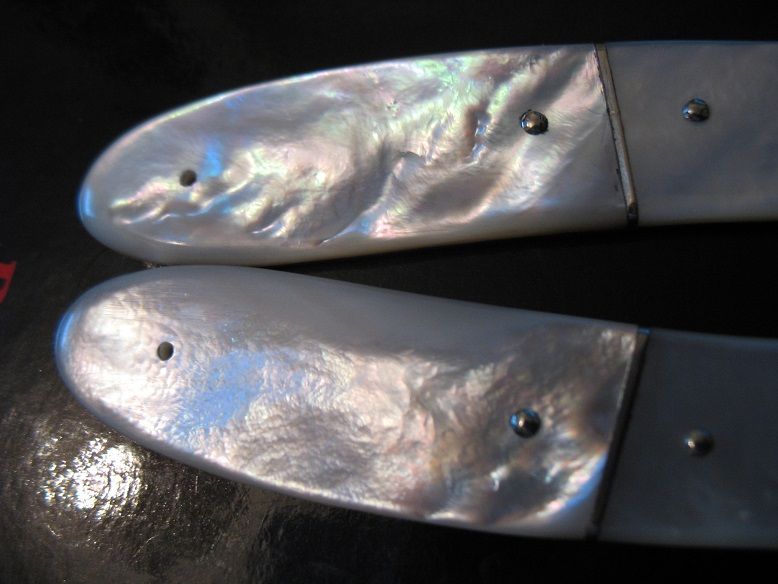
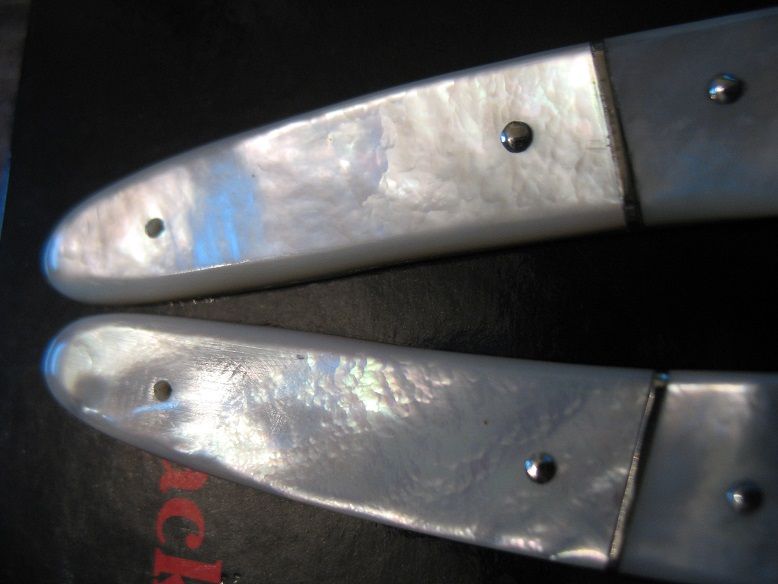
Mops cut to size and shape and glued with epoxy resin piece by piece, placed separators to when scales flexes the margins of mOPs won't show

At the end got a rough shape with an uneven surface, so tried my best to correct

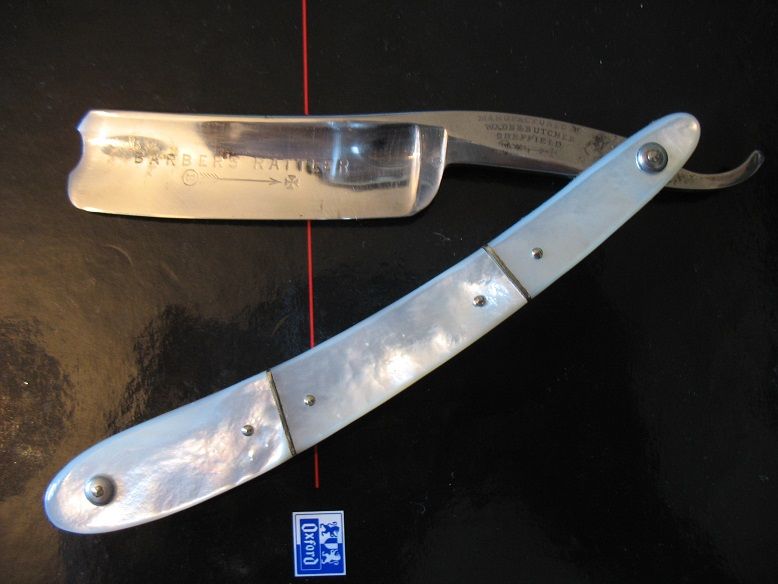
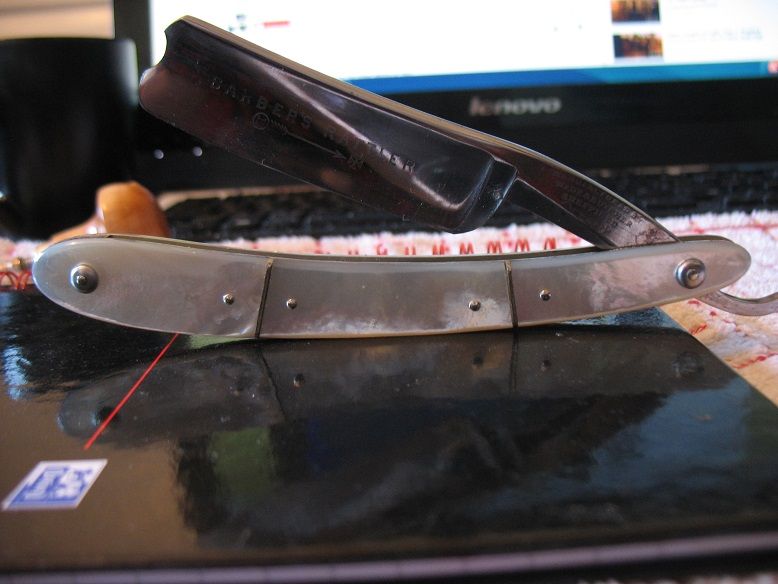
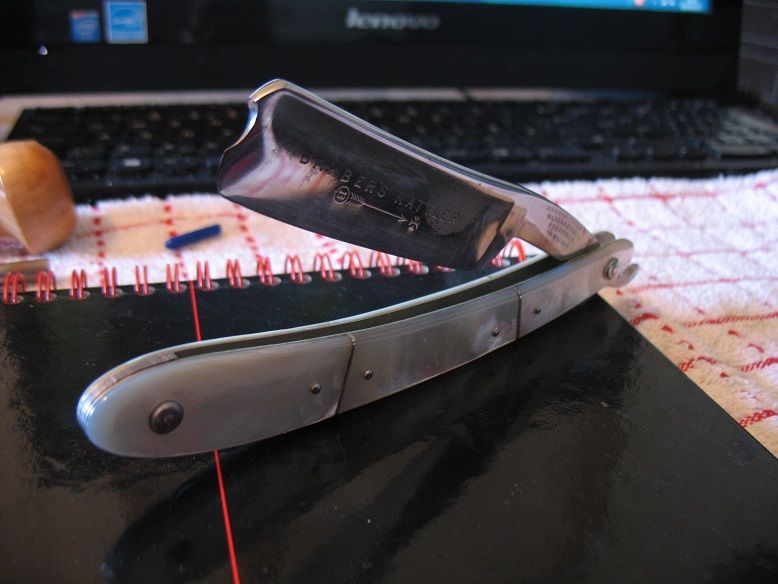
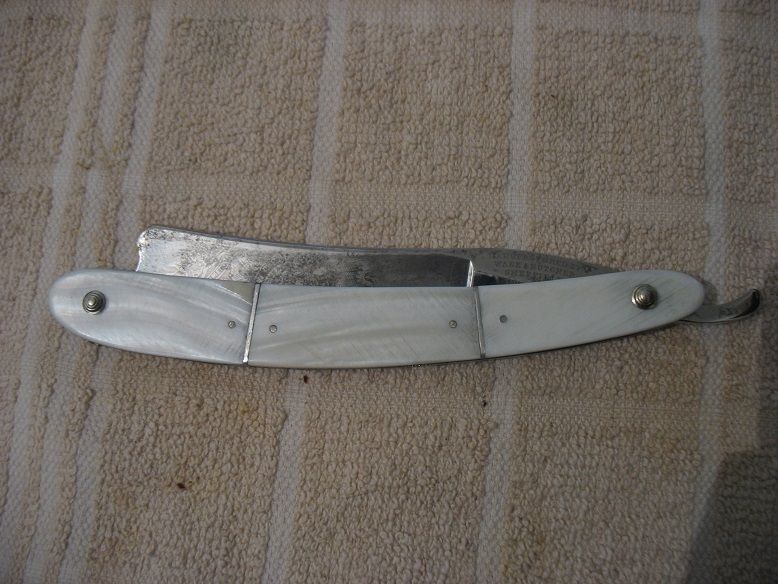
After polishing and peening the blade (wedge made of lead) to my complete surprise I got a nice silver antique look, so I decided to leave it as is


I'm not skilled in honing so took it slowly (about 4 hrs), waxed and buffed the blade, taped the spine and went in progression from 1000 to 10000 Naniwa, strop it. The bevel turn up nice (in the middle it still can be seen the previous bevel)
The shave was perfect, smooth like silk, total surprise as I'm not very fond of W&Bs. Now the razor is in my top five
I intend to make a second pair with grade C MOPs for practising and try after some with black MOP and brass lining for contrast. I have limited time so it will take a while.
I tested WD40 to clean up the engraving but it didn't get anywhere
The blade after several attempts of using WD40 but no results, so decided to stop being afraid to not destroy it.
I won't show the other pictures of the blade from various perspectives because it's depressing. After almost 6 hrs of electrolysis I got this
It can be read now "America the land of the brave and the home of the free" and in the centre "Washington" on top and "razor" at the bottom; it can be distinguished an yellowish halo suggesting a previous gilding, I think.
After many hours of cleaning, polishing (from 180 to 2500 grit) I got this (I left the pitting because I didn't want to alter the blade's geometry)
I cut and trimmed the lining (aluminium 0.7 mm), marked the places to position the MOPs adn drilled the holes for stabilisation pins to prevent cracks
and got the MOP ready (inferior quality - deep scratches, awfully cut blanks); I spent a great deal of time trying to get the surface as even as possible
Mops cut to size and shape and glued with epoxy resin piece by piece, placed separators to when scales flexes the margins of mOPs won't show
At the end got a rough shape with an uneven surface, so tried my best to correct
After polishing and peening the blade (wedge made of lead) to my complete surprise I got a nice silver antique look, so I decided to leave it as is
I'm not skilled in honing so took it slowly (about 4 hrs), waxed and buffed the blade, taped the spine and went in progression from 1000 to 10000 Naniwa, strop it. The bevel turn up nice (in the middle it still can be seen the previous bevel)
The shave was perfect, smooth like silk, total surprise as I'm not very fond of W&Bs. Now the razor is in my top five
I intend to make a second pair with grade C MOPs for practising and try after some with black MOP and brass lining for contrast. I have limited time so it will take a while.