- Joined
- Tuesday February 2, 2016
Hi
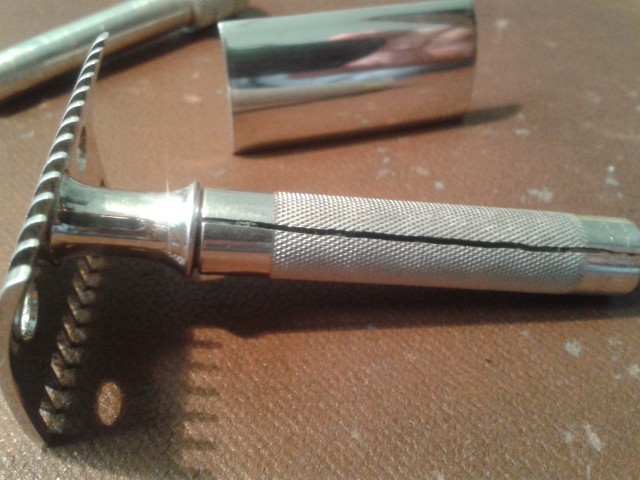
I recently picked up a 1920's old type and as is apparently pretty common there were a couple of cracks in the handle.
I found a post on B&B about repairing them so thought I'd give it a go and post my results")
Here's what I used:
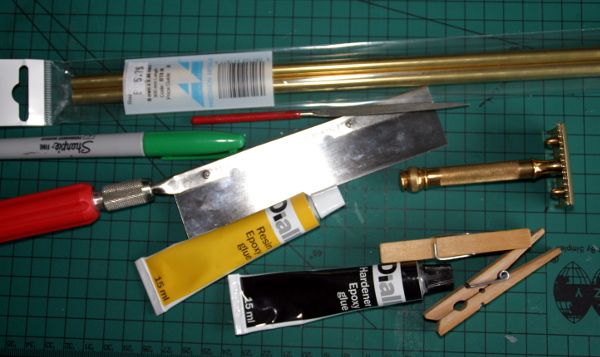
8mm Brass Tube
Needle files
Jewellers saw
Epoxy resin
Sharpie
Pegs
In the end the pegs were supplemented by a G-clamp and I had to get a better file too.
I tried to get a couple of shots of the cracks before hand:
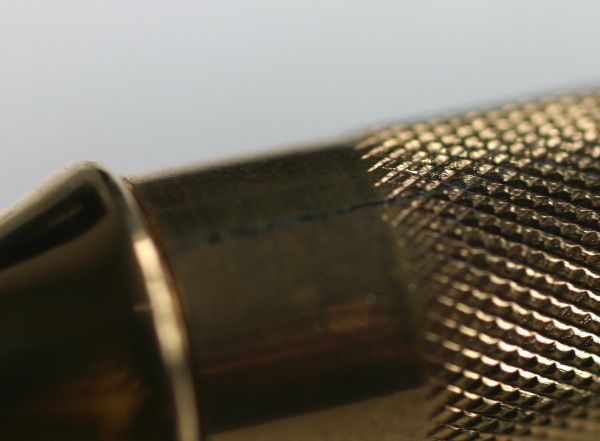
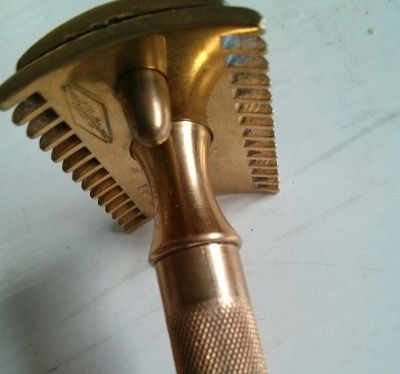
This is the worst one, at the top of the handle. Can kinda see it, it's a lovely picture of the knurling though
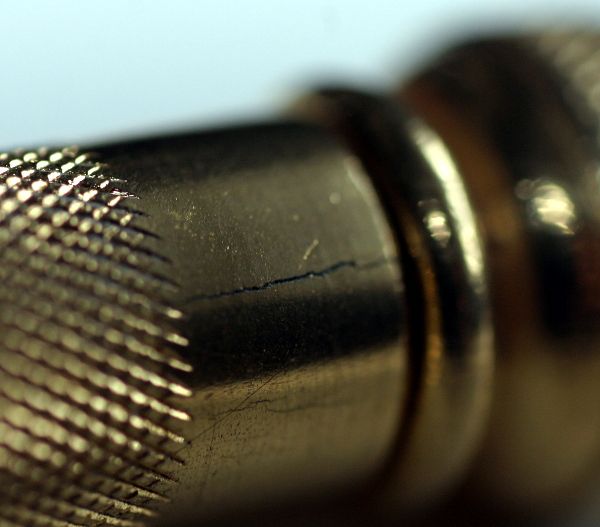
This is the one at the bottom. It's smaller than the one at the top by a little bit.
At this point the batteries on my DSLR died so the rest of the photos are taken with my phone.
The first step was to give everything a good clean, and let it dry.
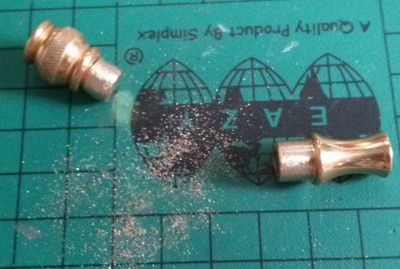
Then I filed down the two parts that get inserted into the handle. I wanted them to fit without pushing against the handle and forcing the crack open. This is where I had to go and get a proper file from my tool kit as the needle file wasn't up to the job.
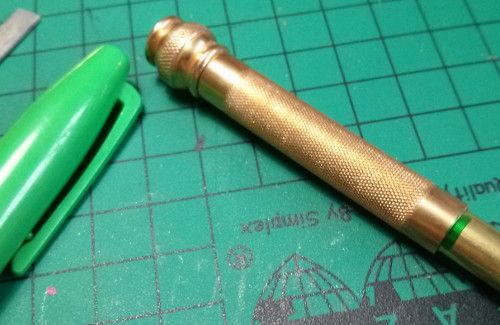
Then I put the ball end into the handle, and marked the brass tube to length:
Before subtracting the length of the insert part of the top collar:
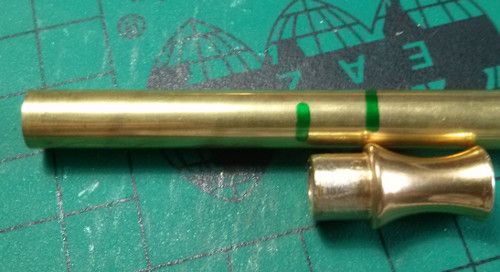
I then cut the tube to length and dry fit everything to make sure it all fit together properly.
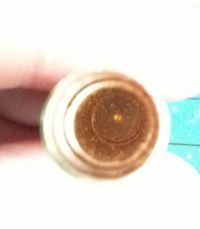
Here is a terrible photo to try and show how closely the 8mm tube fits inside the handle:
I gave the inside of the handle a quick going over with the needle file to try and rough the surface up and give the glue more purchase.
I should probably have tried to do the same on the outside of the brass tube but I forgot.
Then part of the ball end that inserts into the handle was covered in epoxy and fitted into the bottom of the handle. I wiped off the excess epoxy that came back out.
I covered the brass tube in epoxy and pushed it into the handle, then covered the part of the collar that inserts into the handle and pushed that in too.
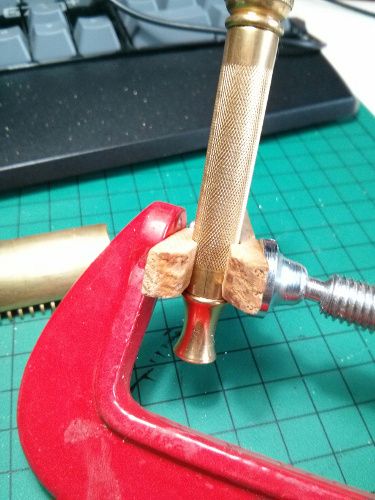
I wiped off all the excess epoxy (if you have young kids then baby wipes are great for this!) and then used a clothes peg to try and squeeze the crack in the handle shut.
I realised this wasn't really working, so ran down to my tool kit again and got a G-clamp. I clamped this on the outside of the peg and tightened.
The peg gave me a nice flat surface to clamp on without the risk of damaging the handle.
I tried to tighten it enough so that the crack was closed up, but not so much that I deformed the handle.
The epoxy I was using is pretty quick drying so I left it a few hours before taking the clamp off.
Some shots from after.
Top:
Bottom:
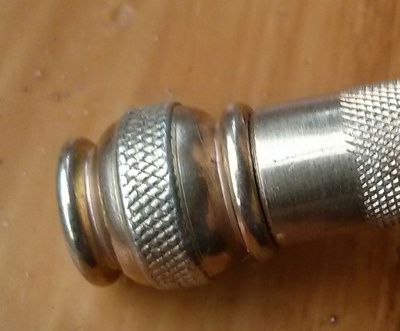
The bottom on is hardly visible at all now.
I weighed the razor before and after and the weight only increased by 3g so it feels pretty much the same too.
It occurs to me now, that I probably could have gotten away with just gluing the end caps in place without the extra brass tube. The cracks weren't that big that I needed the extra support.
I'm pretty happy with how this turned out, and can't wait to shave with it tomorrow.
There are a few little dents and dings on the head of the razor that I might try and file out at some point as well but I can live with them for now.
I recently picked up a 1920's old type and as is apparently pretty common there were a couple of cracks in the handle.
I found a post on B&B about repairing them so thought I'd give it a go and post my results
Here's what I used:
8mm Brass Tube
Needle files
Jewellers saw
Epoxy resin
Sharpie
Pegs
In the end the pegs were supplemented by a G-clamp and I had to get a better file too.
I tried to get a couple of shots of the cracks before hand:
This is the worst one, at the top of the handle. Can kinda see it, it's a lovely picture of the knurling though
This is the one at the bottom. It's smaller than the one at the top by a little bit.
At this point the batteries on my DSLR died so the rest of the photos are taken with my phone.
The first step was to give everything a good clean, and let it dry.
Then I filed down the two parts that get inserted into the handle. I wanted them to fit without pushing against the handle and forcing the crack open. This is where I had to go and get a proper file from my tool kit as the needle file wasn't up to the job.
Then I put the ball end into the handle, and marked the brass tube to length:
Before subtracting the length of the insert part of the top collar:
I then cut the tube to length and dry fit everything to make sure it all fit together properly.
Here is a terrible photo to try and show how closely the 8mm tube fits inside the handle:
I gave the inside of the handle a quick going over with the needle file to try and rough the surface up and give the glue more purchase.
I should probably have tried to do the same on the outside of the brass tube but I forgot.
Then part of the ball end that inserts into the handle was covered in epoxy and fitted into the bottom of the handle. I wiped off the excess epoxy that came back out.
I covered the brass tube in epoxy and pushed it into the handle, then covered the part of the collar that inserts into the handle and pushed that in too.
I wiped off all the excess epoxy (if you have young kids then baby wipes are great for this!) and then used a clothes peg to try and squeeze the crack in the handle shut.
I realised this wasn't really working, so ran down to my tool kit again and got a G-clamp. I clamped this on the outside of the peg and tightened.
The peg gave me a nice flat surface to clamp on without the risk of damaging the handle.
I tried to tighten it enough so that the crack was closed up, but not so much that I deformed the handle.
The epoxy I was using is pretty quick drying so I left it a few hours before taking the clamp off.
Some shots from after.
Top:
Bottom:
The bottom on is hardly visible at all now
.I weighed the razor before and after and the weight only increased by 3g so it feels pretty much the same too.
It occurs to me now, that I probably could have gotten away with just gluing the end caps in place without the extra brass tube. The cracks weren't that big that I needed the extra support.
I'm pretty happy with how this turned out, and can't wait to shave with it tomorrow.
There are a few little dents and dings on the head of the razor that I might try and file out at some point as well but I can live with them for now.
Last edited: